It was a rainy day today, went out for lunch at Hong Lim Food Centre, and decided to take the Alpa 12 STC Silver Edition out.
The first image was taken as a single image with the digital back at the zero position. The 40mm lens on the 44x33 sensor is approximately 32mm in a full frame digital camera, and the perspective is rather nice. The Alpagon/Rodenstock lens is very sharp throughout, and focus was set at infinity. Aperture was f/8, 1/125s at ISO 100. Some of the top of the image is cropped.
Next, I did some three panel vertical panoramas. To do this, two of the panels would require the back to be shifted to its most extreme position at +18mm and -18mm. Digital sensors will exhibit colour casts at these extreme shifts.
This colour cast is due to angle of light hitting the sensor at very acute angles. The light, already filtered by the Bayer array, lands on the adjacent wrong CMOS cell, giving a lens cast which progresses across the end of the frame. This lens cast is very difficult to remove in post processing. To successfully elimate this phenomena, a Lens Cast Correction (LCC) frame is shot. At the extreme -18mm down shift of the back, this is full frame of the colour cast caused by this effect.

Note the progressive nature of the lens cast introducing a magenta note to the colour palate and vignette. In a stitched image made of three panels, this is cast is visible on the top and bottom of the image. The resultant -18mm shifted image, uncorrected looks like this.

The middle image is not shifted, and is relatively free of this cast, as the light is incident more or less perpendicular to the sensor, and the Bayer Array does a good job separating the RGB information into the correct CMOS cell. This is a digital phenomena, and not present when shooting film.
To correct for the colour cast and vignette, I used the LCC image above, which is taken by putting a white perspex in front of the lens and shooting at the appropriate aperture just before exposing the image. In total, for the three panel vertical stitch, five frames are exposed. First, I moved the back to the lowest position -18mm. I exposed the -18mm LCC correction panel, removed the perspex and exposed the appropriate image for the top panel. Then the back is shifted to the 0 position, and the image taken. And subsequently, the back is shifted to the uppermost position +18m, another LCC frame is made. This looks like the -18mm LCC, but upside down. Removed the perspex and exposed for the lower part of the image.
The LCC panels are then processed in Phocus, Hasselblad's raw processing software, and saved as LCC for +18mm and -18mm. These presets are then used to calibrate the actual images. After correction for lens cast and equalisation, we arrive at three images which are then stitched together in Photoshop to show the following image.
A view into the CBD, with Great Eastern, OCBC Centre, UOB and CapitaSpring in the distance. The lens cast disappears. A bonus is the sensor dust spots are also removed.

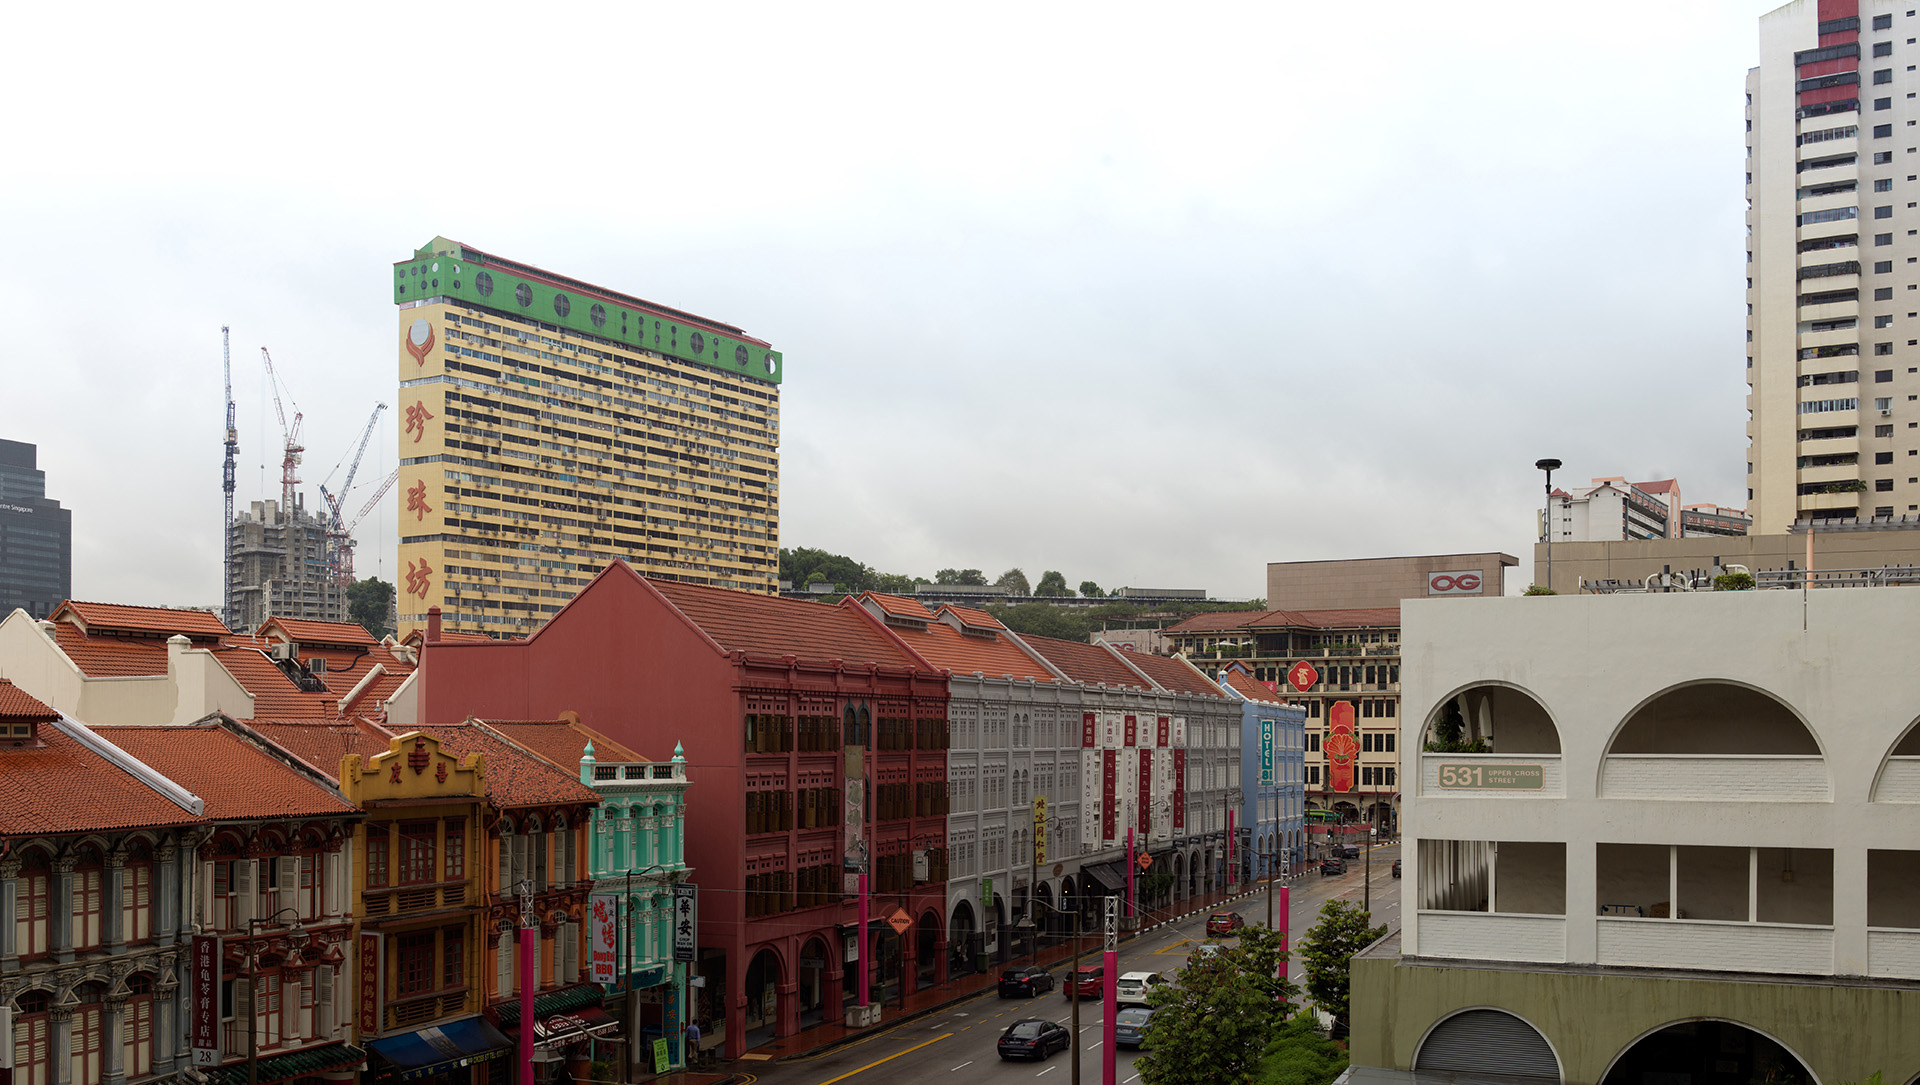
Another image, taken in a similar way, from at the 10th floor of the HDB block overlooking Hong Lim and Park Royal Collection Pickering Hotel which is clad in plants. I expose to blow up the sky, as the dynamic range between the shaded parts of the building and the sky was too large.

The same procedure is applicable to horizontal panorama stitches as well, or anytime extreme shifts are made. It is good practice to take an LCC frame before each exposure.
Comments
Post a Comment